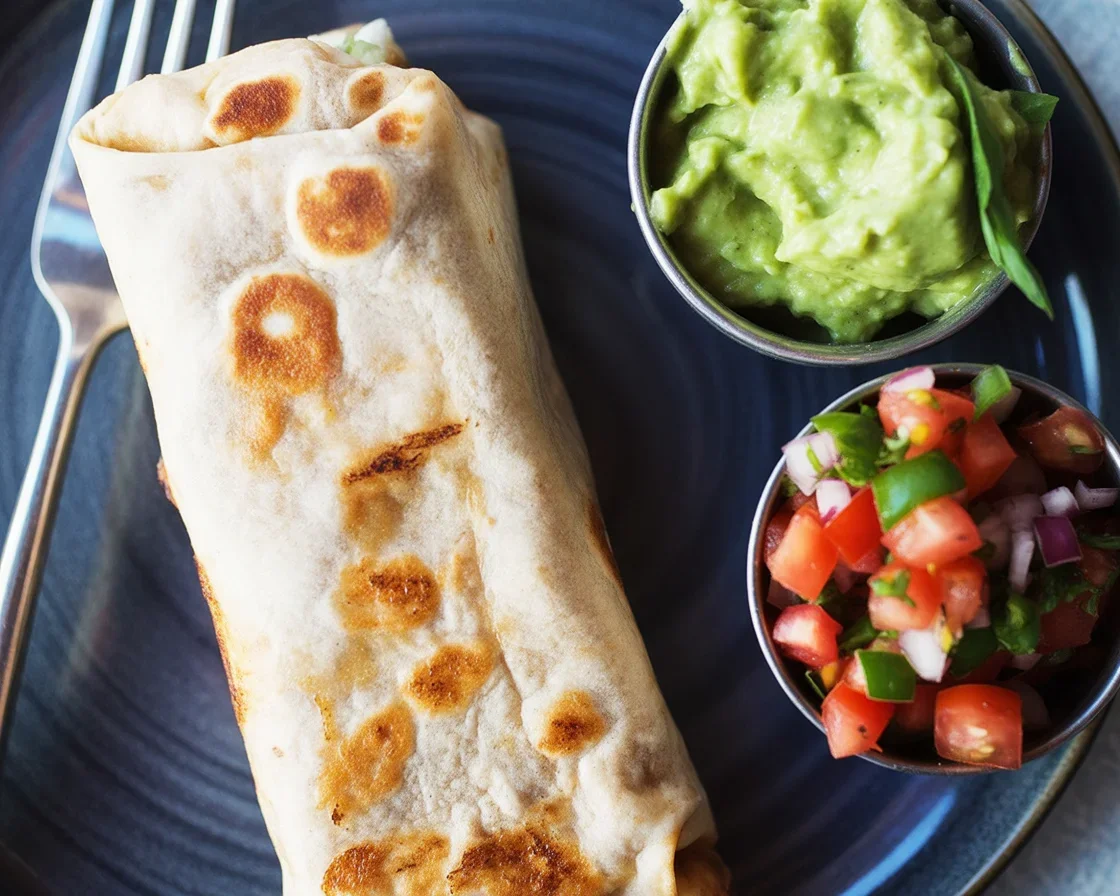
Ever wake up hungry, groggy, and somehow busier than ever? Me too. That’s why gluten-free sheet pan breakfast burritos totally save my mornings. You get a hot, ready meal without scrambling around like a chicken with its head off. Plus, you can prep them ahead—way ahead—so breakfast is a grab-and-go situation all week long. It’s honestly the closest I get to feeling organized.
Rolling Your Breakfast Burritos
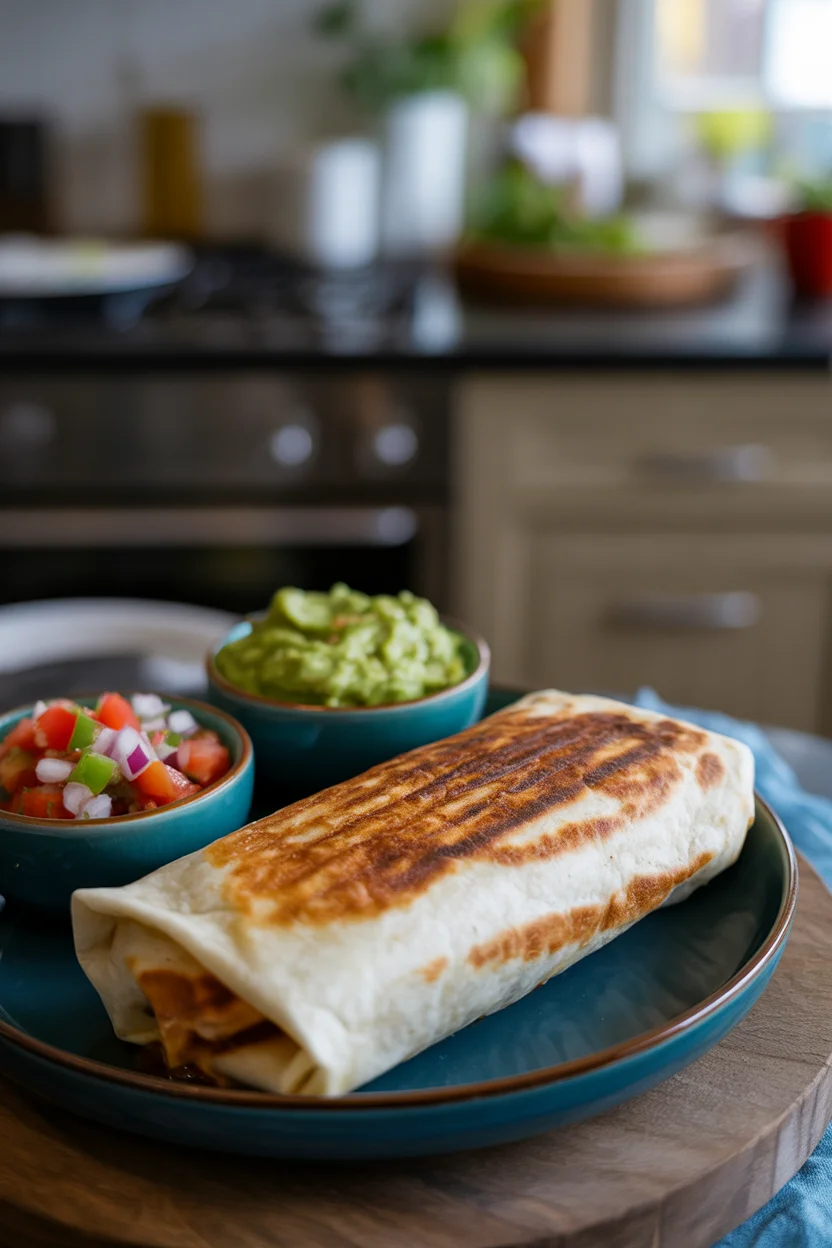
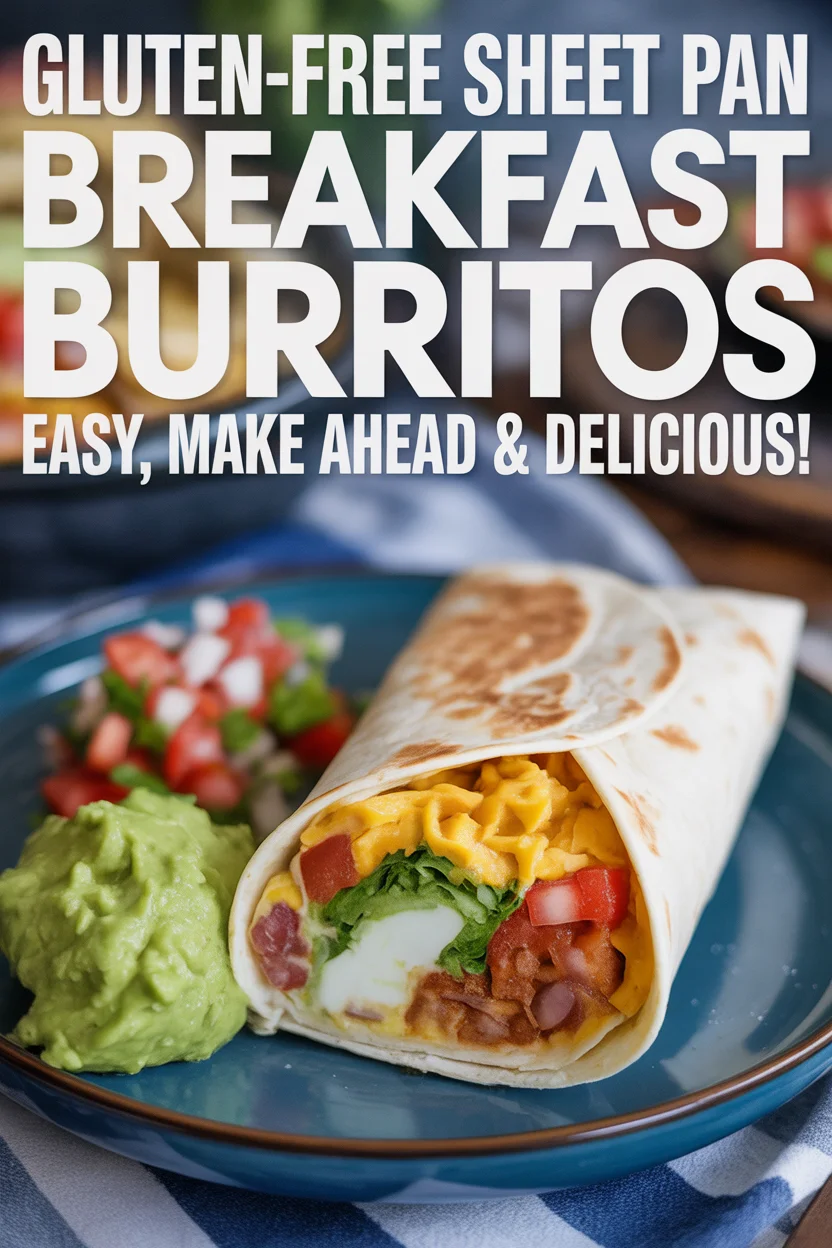
Let me just get this out there: rolling burritos sounds easy until you actually try it. Trust me, I’ve had my fair share of scrambled-egg disasters. My trick? Warm the gluten-free tortillas first. Otherwise, they can crack or just fall apart (sigh, learned that the hard way). Put your filling in the middle, not too much, or you’ll be stuck with breakfast tacos instead. Fold in the sides before you roll it up tight—like you’re tucking in a baby for a nap. If it splits a little, no one’s judging. Just patch it together—the cheese will hold things after baking.
“Following your tip about warming the tortillas actually worked! Mine didn’t break for the first time ever. I’m shocked.” – Hannah T.
How to Store Freezer Breakfast Burritos
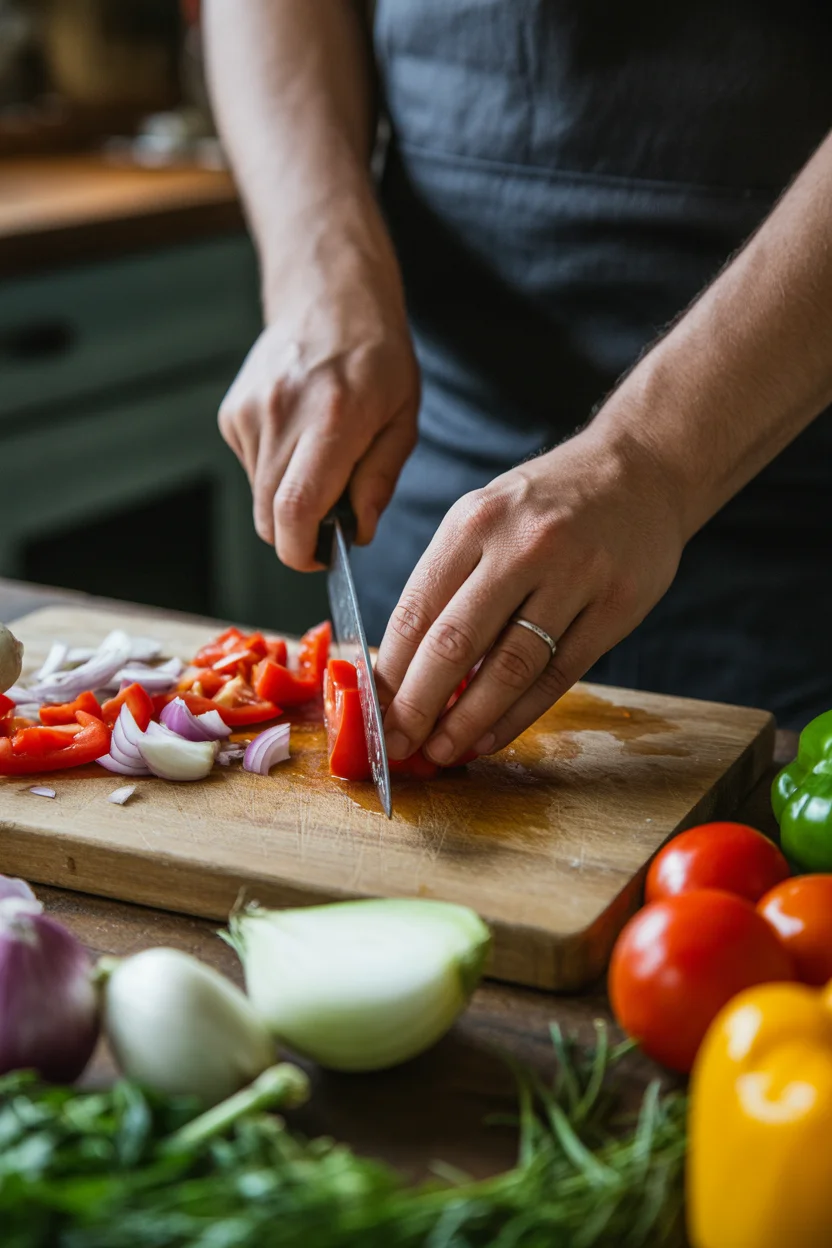
Alright, so you’ve made a little burrito army and now you wanna save them for later? Here’s what I do: I wrap each one up in foil (tightly, like you mean it) and toss them in a resealable freezer bag. Don’t forget to scribble the date with a marker, or you’ll find some mysterious breakfast artifact two months from now. They’ll stay good in the freezer for up to three months.
Also, if the idea of soggy burritos freaks you out—don’t worry, it’s all about reheating (we’ll get there). Keep ’em wrapped, keep ’em frozen, and you’ll have basically a breakfast vending machine at home.
Variations
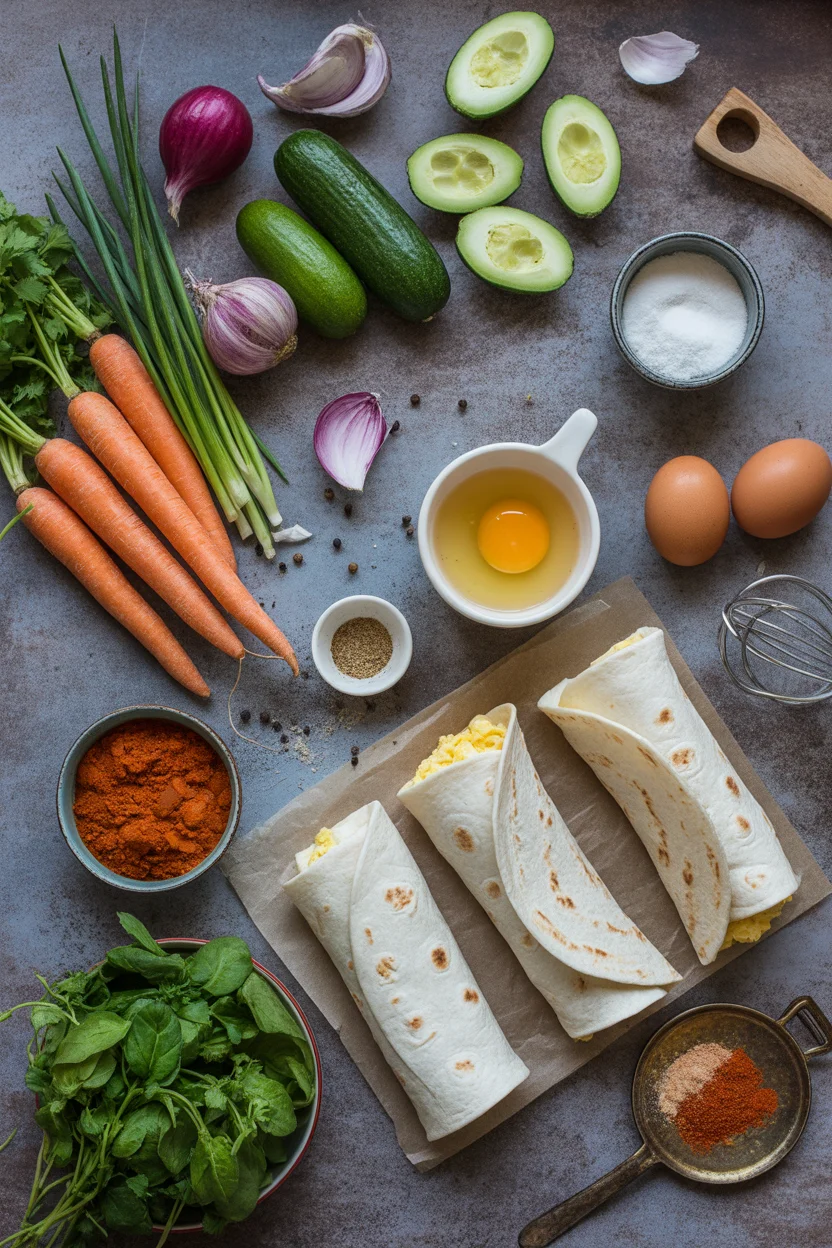
Okay, now here’s where it gets fun and a little wild. You can swap out stuff endlessly, and you should! Sometimes I use crispy potatoes instead of hash browns. Or, I’ll throw in black beans for an extra oomph. Not in love with sausage? Ditch it for chopped bell pepper and onions.
Different cheese, different veggies, mild or spicy salsa—whatever floats your boat. If you’re feeling fancy (or just hungry), avocado goes in last so it doesn’t turn brown in the freezer. Seriously, don’t freeze avocado—just trust me on this.
How to Reheat a Frozen Breakfast Burrito
When you’re ready to eat—because let’s face it, that’s the whole point—take your burrito out and unwrap the foil. Toss it on a plate. Microwave for about two or three minutes, flipping halfway so the middle actually gets warm, not just the outside. If you want crispy edges (who wouldn’t?), throw it in the oven at 375 degrees for 10-ish minutes after microwaving.
I tried skipping the microwave once (not recommended)…cold beans are not a vibe. Make sure you don’t burn your mouth, though—I get excited and forget sometimes.
What to Avoid in a Breakfast Burrito Recipe if Freezing
Look, not everything freezes like a champ. Raw tomatoes get kinda mushy and weird. Skip big chunks of avocado in the freezer—trust me, it’s just a sad, brown mess. Ingredients with too much moisture, like juicy veggies, will lead to soggy burritos that nobody wants. And sauces? Keep them on the side until you’re ready to eat. Otherwise it’s all sog and no crunch.
Serving Suggestions
- Top it with a scoop of fresh salsa or hot sauce for extra zing (life-changing, honestly).
- Add sliced green onions or cilantro right before you eat.
- Pair it with coffee, a smoothie, or whatever wakes you up in the morning.
- If you’re feeling extra fancy, toss a dollop of plain Greek yogurt on top.
Common Questions
Q: Can I use any gluten-free tortillas?
A: Yes, but some brands fall apart more than others. Warm them first to be safe.
Q: Do these really taste good after freezing?
A: Shockingly, yes. The texture is still solid—just don’t overfill.
Q: Can I skip the meat?
A: Absolutely. Eggs, beans, and veggies hold up great.
Q: How long can they stay in the freezer?
A: Three months is kind of the magic number for best taste.
Q: Can I prep these at night and bake in the morning?
A: Oh yeah. Just keep them in the fridge overnight, then bake.
You Deserve an Easy Breakfast (Seriously!)
Let’s be honest: mornings are hard enough. Gluten-free sheet pan breakfast burritos make starting the day almost embarrassingly easy. You toss everything on a pan, roll, freeze, and boom—five-star restaurant in your freezer. If you’re new to meal prepping or gluten-free eating, don’t sweat it. I learned from a mix of cooking fails and wild foodie experiments, and you can too. I pulled more helpful tips from America’s Test Kitchen if you want to nerd out more. Make a batch this weekend. Your future sleepy self will thank you.
Breakfast Burritos
Ingredients
Method
- Preheat your oven to 375°F (190°C).
- Scramble the eggs in a non-stick pan and season as desired.
- Warm the gluten-free tortillas in a microwave or on a skillet to prevent cracking.
- On each tortilla, add a portion of scrambled eggs, hash browns, sausage, cheese, and salsa.
- Fold in the sides of the tortilla and roll tightly.
- Wrap each burrito in foil and place in a resealable freezer bag.
- Bake the wrapped burritos in the oven for 25 minutes.
- Unwrap the burrito from foil and microwave for 2-3 minutes, flipping halfway.
- For crispy edges, place in the oven at 375°F for an additional 10 minutes.
- Serve with salsa, Greek yogurt, or sliced green onions.

