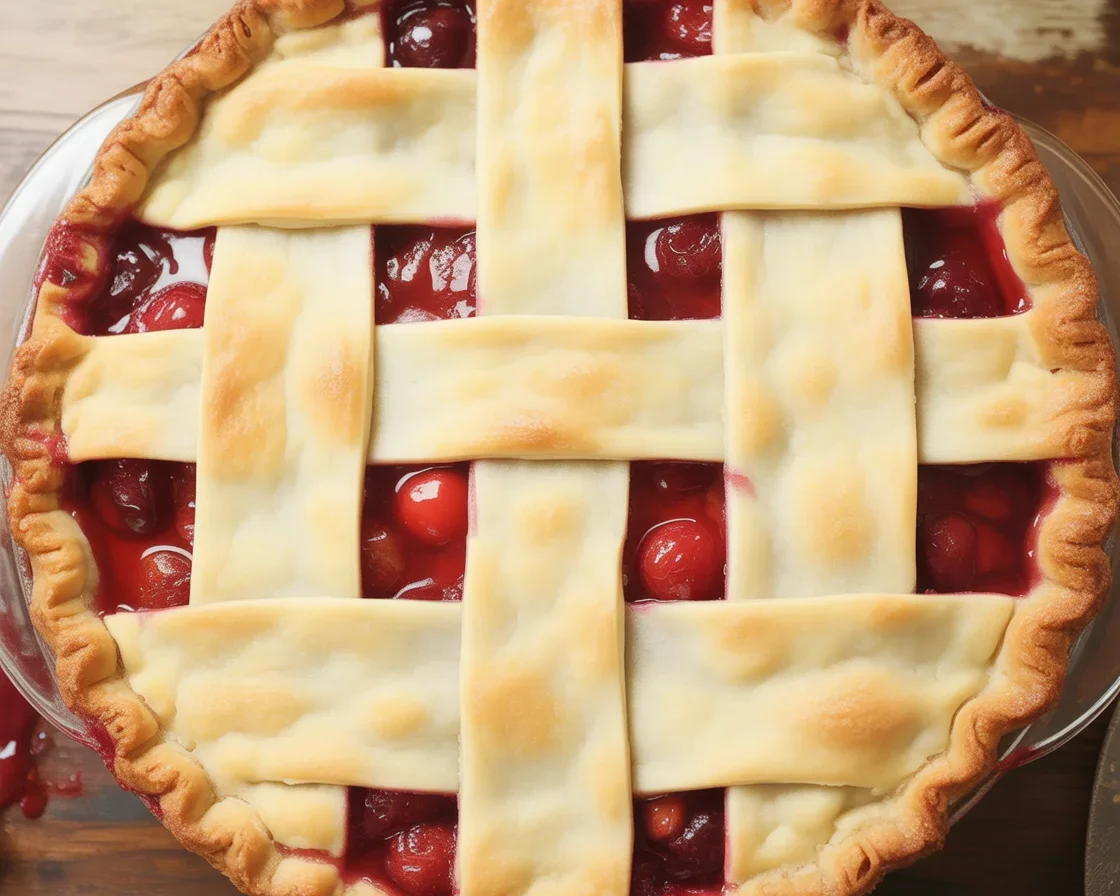
I can’t count how many times a friend has messaged me in a panic: “Is cherry pie with lattice crust actually worth the trouble?!” Yup. Been there. Let me just tell you—nothing makes your home smell cozier. And your people—whether they’re hungry kids or picky neighbors—will be so impressed. If you already love easy desserts, check out these apple hand pies for another simple crowd-pleaser. But today, it’s all about cherry pie: crust, the sweet filling, and that fancy-pants lattice top. And it’s really less intimidating than it looks, I swear! 
How to Make a Lattice Top for a Cherry Pie
Okay, honesty hour—lattice tops used to freak me out. All the weaving? Looked fancier than a five-star restaurant. But here’s the secret: you don’t have to be a pro to make it work.
Just start with dough strips (about as wide as your finger, or a tad skinnier if you want more strips). Lay half across the pie in one direction, spaced out. Fold back every other strip halfway, then lay a strip the other direction. Unfold, fold back the alternating ones, add another. Keep going till you’ve woven the whole thing—it’s kind of like making a paper mat in school, if you ever did that project. Even if you mess up? Still tastes epic.
Don’t stress if a strip tears. Just patch it. Cherry filling bubbles up covering the “mistakes” anyway, promise. Oh, and brush the top with a little milk and sprinkle sugar if you’re feeling wild. It makes the whole pie sparkle. Okay, maybe not literally, but you get it.
“I totally thought a lattice pie was way above my skill level, but your directions made it totally doable. Mine came out looking kind of quirky, but it tasted amazing!” – Casey, a very real pie skeptic turned fan

How to Crimp Pie Edges
This part isn’t just for looks. It actually helps seal in all the juicy cherry goodness, so it doesn’t flood out. All you do is pinch the dough around the edge with your thumb and finger—mine never look Pinterest-perfect but honestly, who cares? Sometimes I use a fork instead for a classic pattern (and less sticky fingers).
Just go around the whole edge, pressing the crust together where the bottom meets the strips. If the dough gets sticky, dip your fingers in flour. If it cracks, gently smush it back together and pretend that’s the “rustic” look. You seriously can’t go wrong unless you totally skip this step. 
How to Bake a Cherry Pie
Baking is where everything comes together, literally. Preheat your oven to 400 F. That’s the magic number for extra flaky crust. Pop the pie in the oven on the lower rack. Why lower rack? It helps the bottom crust bake up crisp, not soggy.
After about 20 minutes, peek in—if the edges are going deep brown, cover them with foil strips. Then bake for another 25 to 35 minutes. Look for bubbling filling and golden crust, and definitely let it cool before slicing (I’ve learned that one the hard way).
Patience is the hardest part. If you cut it straight out of the oven, the filling runs everywhere—still delicious, but you’ll need a spoon. Give it at least two hours!
What kind of cherries do you use for pie?
Here’s where folks get feisty. You want tart cherries (like Montmorency), if you can find them. They give that classic tang, not just sweetness. Frozen work fine, by the way—sometimes better than the sad canned stuff. If you’re swimming in sweet cherries (like Bing), just add a little extra lemon juice for balance, and cut the sugar back.
Around my area, local markets sometimes have sour cherries for about two weeks in summer. If you see some, grab ’em. Freeze whatever you don’t use.
How do you make cherry pie filling from scratch
Canned filling is easy but, honestly, the homemade stuff is what makes the pie legendary. Just toss about 5 cups pitted cherries with sugar, lemon juice, cornstarch, and a pinch of salt. Let it sit for a bit to draw out the juices.
If you go with frozen cherries, thaw them first and drain the juices (or else the filling gets soupy). Cook everything together on the stove for a few minutes till it looks glossy and thickened—don’t boil hard, just gentle heat. Taste and adjust; sometimes you want more sugar, sometimes less, totally depends on your batch of cherries.
When you pour it into the crust: if it seems runny, add a bit more cornstarch next time. Always works for me. Just remember, it’ll thicken as it cools, so don’t panic if it’s a little loose.
Serving Suggestions
- Always let cherry pie cool at least 2 hours before slicing, unless you like cherry soup.
- Serve with a scoop of vanilla ice cream for the full “wow” effect.
- Pie keeps, lightly covered, on the counter for 2 days or in the fridge for up to 5 (if it lasts that long).
Common Questions
Q: Can I use canned cherries?
A: Sure, just rinse off the syrup and add a little less sugar.
Q: Why does my filling get runny?
A: Probably not enough thickener, or you sliced it too soon. Try giving it more time to cool next time and up your cornstarch if needed.
Q: Can I freeze cherry pie?
A: Heck yes. Freeze after baking and cool completely. Wrap tight and it’ll keep for a couple months. Thaw in the fridge.
Q: My crust turns too brown—help?
A: Foil to the rescue. Cover the edges with foil halfway through baking and finish uncovered.
Q: Do I have to use a lattice top?
A: No rules! You can totally use a full top with slits, or even cut out shapes if you’re in a decorative mood.
Bake Like You Mean It
You’ve got everything you need to own this cherry pie with lattice crust recipe. Even if your lattice is crooked, folks will still rave about it (trust me on this). For more tips and a quick visual, check out this handy How to weave a lattice pie crust – YouTube guide, or grab four ingredients and peek at 4 Ingredient Latticed Cherry Pie – Heidi’s Home Cooking. Now get baking, and don’t forget to grab a fork—and maybe a friend to share with. 

Cherry Pie with Lattice Crust
Ingredients
Method
- Preheat your oven to 400°F (200°C).
- In a large bowl, combine the pitted cherries, sugar, lemon juice, cornstarch, and salt. Allow the mixture to sit for about 10 minutes.
- For the pie crust, mix flour and butter in a bowl until crumbly. Gradually add cold water and mix until a dough forms.
- Roll out the dough and cut into strips for the lattice top.
- Spread the cherry filling into the prepared pie crust.
- Weave the strips of dough over the filling to create a lattice pattern.
- Crimp the edges of the pie to seal, either by pinching the dough or using a fork.
- Brush the lattice with beaten egg and sprinkle sugar over the top.
- Bake the pie on the lower rack for 20 minutes.
- If the edges turn brown, cover them with foil strips.
- Continue to bake for an additional 25 to 35 minutes or until the filling is bubbling and the crust is golden.
- Let the pie cool for at least 2 hours before slicing.

